Turkey is the centerpiece of any Thanksgiving feast and the one dish that everyone looks forward to. But let’s be real. A dry and bland turkey can quickly ruin the entire meal. So why not up your game and give that bird the flavor it deserves by smoking it in a wood smoker?
These are some basic steps to smoke a turkey in a wood smoker:
- Prepare your turkey
- Choose your wood
- Fire up your smoker
- Baste and smoke
- Let it rest, carve and serve
In the rest of the blog, I am going to walk you through everything you need to know about smoking a turkey in a wood smoker in the most delicious way possible. So, buckle up, grab your wood smoker, and let’s get started!
What You’re Going To Need
Before we get started, let’s gather all the things we’ll need to make sure we don’t miss out on anything.
Things you’ll need:
- Turkey (I recommend a free-range, organic bird for the best flavor)
- Brine ingredients (water, salt, sugar, herbs, spices)
- The wood of your choice
- Wood smoker
- Meat thermometer
- Baste ingredients (butter, herbs, spices)
- Aluminum foil
- Carving knife
- Basting brush
- Patience!
And now, let’s talk about the star of the show – the wood smoker.
Wood smokers add an extra layer of flavor to your turkey that you just can’t get from a traditional oven. The smoke from the wood infuses the meat with a smoky flavor that can only be achieved through slow cooking. Plus, the low and slow cooking process ensures a juicy and tender turkey every time.
When choosing a wood smoker, it’s important to consider the size, material, and features. The size of your smoker should depend on the size of your turkey and the amount of food you plan to smoke. Material-wise, stainless steel and heavy-duty steel are the most durable options.
And when it comes to features, look for a smoker with an adjustable temperature control, a drip pan for easy cleanup, and a tight-fitting lid to lock in the smoke.
Step 1: Prepare Your Turkey
Let’s start with the bird itself. Before you can smoke it, you’ll need to clean and prep it. Remove the giblets and neck from the turkey and set them aside (you can use them later to make gravy or stock). Rinse the turkey inside and out with cold water. Pat the turkey dry with paper towels.
Next, brine it like a boss! A good brine is essential to a juicy and flavorful turkey. So, let’s start by mixing together a brine solution of water, salt, sugar, and your choice of herbs and spices. Soak your turkey in the brine for at least 8 hours (or overnight) before smoking (the longer, the better), and you’re good to go.
Now that the turkey is brined, it’s time to season it up. I like to start with a good coating of oil, which helps to lock in moisture. Next, sprinkle on a mixture of herbs and spices, such as thyme, rosemary, garlic powder, and black pepper. The seasoning options are endless, so feel free to get creative!
Step 2: Choose Your Wood
One of the best parts about wood smoking is the unique flavor each type of wood can add to your turkey. The type of wood you choose will greatly impact the flavor of your turkey.
For a mild and subtle flavor, go with apple or cherry wood. If you want a bold, smoky taste, go for mesquite or hickory.
Just remember, the stronger the wood, the bolder the flavor. The key is to choose a wood that complements the natural flavors of the turkey, not overpower them. Choose wisely!
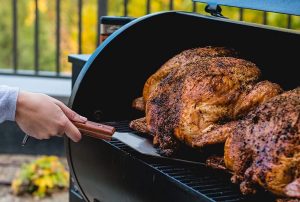
Step 3: Fire Up Your Smoker
Now, it’s time to get your smoker going! Fill the firebox with your choice of wood. I prefer hickory or mesquite for their strong, smoky flavor. Light the fire and let it burn down until you have a bed of hot coals. Place the turkey on the grates and close the lid.
Sit back and relax (and maybe have anything cold to drink ) while the smoker does its magic.
It’s time to shed some light on the ever-so-crucial art of temperature control. Smoking a turkey is not just about lighting the fire and letting it smoke. It’s about keeping the heat just right! You want to maintain a temperature of around 225-250°F.
This will allow the smoke to penetrate the bird slowly and evenly, giving it that amazing smoky flavor you’re looking for. Check the temperature regularly of your smoker every hour and add more wood as needed.
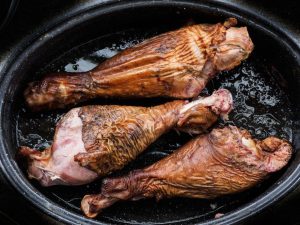
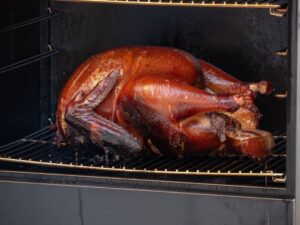
Step 4: Baste and Smoke
It’s showtime, folks! Fire up your smoker, and let’s get this turkey smokin’! But for how long should you smoke your turkey? Well, it depends on the size of the bird, but generally, you’ll need to smoke it for around 12 hours.
A good rule of thumb is to smoke it for 1 hour per pound of turkey. And, as the saying goes, “low and slow” is the way to go when smoking a turkey. This will result in a juicy and flavorful bird.
Once the turkey is almost done, it’s time to add the finishing touch. Baste the turkey with melted butter or olive oil to get a crispy, golden-brown skin. And, if you’re feeling adventurous, add some more of your favorite herbs and spices to the baste for an extra burst of flavor.
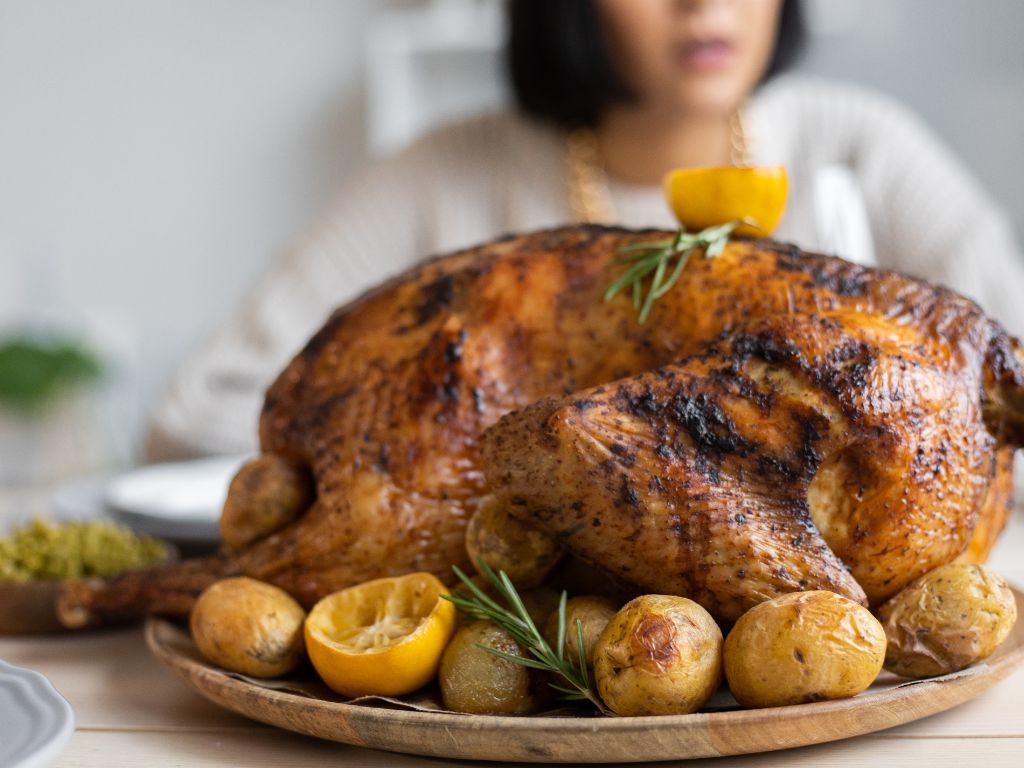
Step 5: Let It Rest, Carve, and Serve
Finally, it’s time to carve and eat! Let the turkey rest for at least 10 minutes before carving. This will allow the juices to settle and make the turkey even juicier. Serve with your favorite sides and enjoy your hard work!
Final Thoughts
And there you have it, folks! Smoking a turkey in a wood smoker is not rocket science, but it does require patience. Trust me, the end result is worth the wait.
The smoky flavor infused into the turkey will make your taste buds dance with joy. Just follow these 5 simple steps, choose your wood wisely, and let that smoker do its magic.
So, what are you waiting for? Get your wood smoker ready, and let’s smoke that turkey!