If you’re looking for a foolproof way to smoke a turkey at 250F, look no further! In this blog post, we’ll be walking you through the steps needed to create the perfect Thanksgiving feast.
If you’re looking to smoke a turkey, chances are you want it to be crispy on the outside and moist and juicy on the inside. It’s not difficult to do, but it does require some patience.
Here is how you can smoke a turkey at 250F:
- Rinse and rub the bird
- Set your smoker at 250F
- Season the outer part
- Stuff the bird with spices
- Add wood chips
- Smoke
So, without further ado, let’s get started!
What you will need
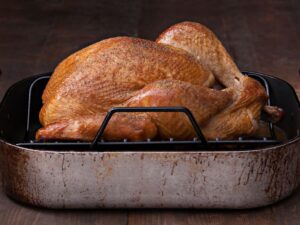
- A Turkey (Obviously). A 10-pound neckless bird is ideal.
- A smoker
- Roasting pan and foil
- Wood chips (2 cups hickory chips)
- Spices-4 cloves crushed Garlic, 2tbsp. salt, 1 medium onion, 1 tbsp. ground black pepper, 1 tbsp. garlic powder
- 2 cans of any cola-flavored beverage
- 1 Cup butter
- 1 quartered apple
Step 1: Rinse and rub your turkey
You will need cold water for this step. This step is for hygiene purposes. Rinse thoroughly until the turkey is clean. Pat dry with a clean kitchen cloth and set on a platter.
Step 2: Set your Smoker
This is one of the most important steps in this process. The right temperature will determine the outcome of your turkey. Set your smoker at 250F. The turkey is smoked at a low temperature for a long time to ensure it’s fully cooked.
Step 3: Season the outer part
This is where all the flavoring comes in. The long smoking time gives the turkey ample time to soak in the spices and absorb all their goodness. Take the crushed garlic cloves and rub them all over the outer part of your turkey. Sprinkle your salt on the outer skin of the turkey.
Step 4: Stuff the bird with spices
The next step is to work on the cavity. Fill the cavity with your cans of cola beverage, butter, apple, garlic powder, onion, salt, and pepper. Cover your turkey with foil loosely. This step is critical to your end taste. These spices are not fixed, so you can add some personal touch to your turkey. However, do not overdo the spicing to avoid losing the taste of turkey.
Step 5: Add wood chips
The choice of your wood chips will determine the smoky flavor that your turkey acquires. The smoker has the manufacturer’s instructions about adding wood chips. Follow the manual and then place the roasting pan in the smoker.
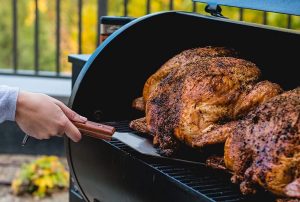
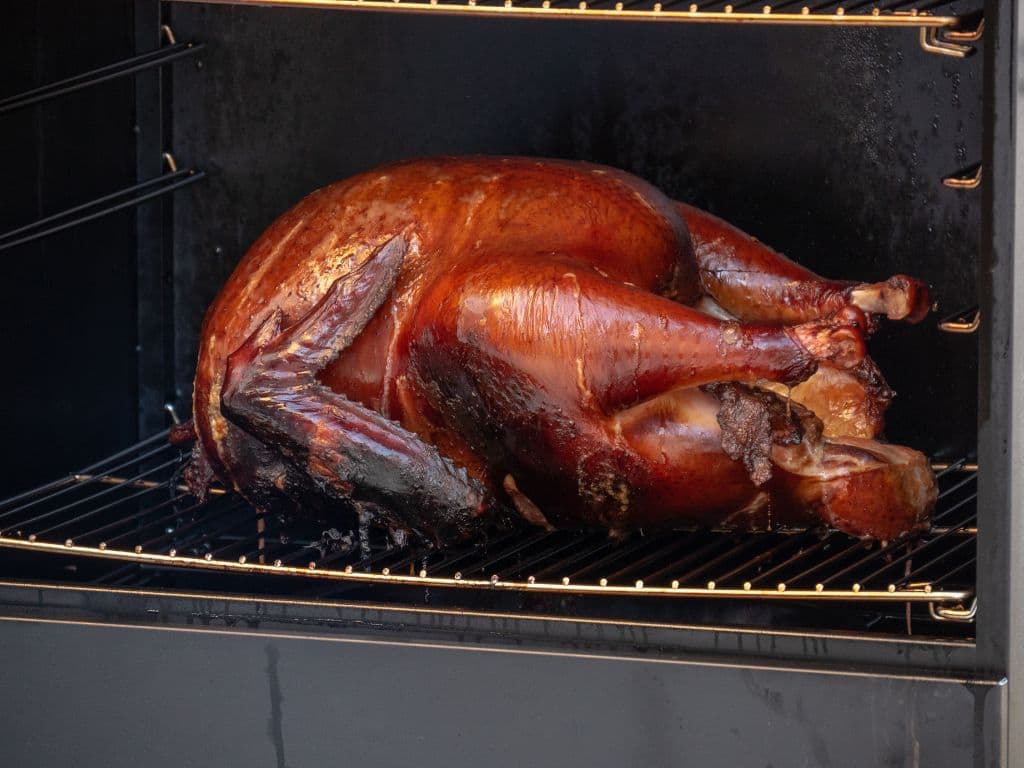
Step 6: Smoke
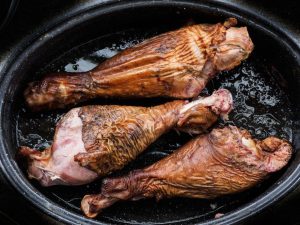
This is the longest, but the final procedure. You will need to bast your turkey every hour with the juices that keep accumulating at the bottom of your roasting pan. After five hours, add some more wood chips if necessary. Continue with the basting and smoking until the turkey is no longer pink. When there are no more juices, smoke for another five hours. Take your turkey out of the smoker.
Tips
I know people who swear by brining. Well, it’s a good addition, but not necessary. If you insist on brining, you can opt for a dry-brine to avoid all the mess.
In our ingredients, we talked about hickory wood chips. We opted for these as they produce more smokiness than other wood types. The wood can be green or seasoned, depending on what you find.
When cooking and basting, do not let your temperature in the smoker drop below 250F. This temperature will ensure that your turkey comes out fully and uniformly cooked.
Final Thoughts
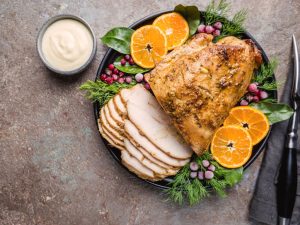
There you have it; the easiest way to smoke turkey at home. Start smoking earlier in the day to have your turkey ready by dinner. The feeling of accomplishment after successful smoking is priceless.
This serving gives you 625 calories and 71.5g of proteins. After this information, you do not need to stress during thanksgiving and make endless queues to pre-order your turkey.